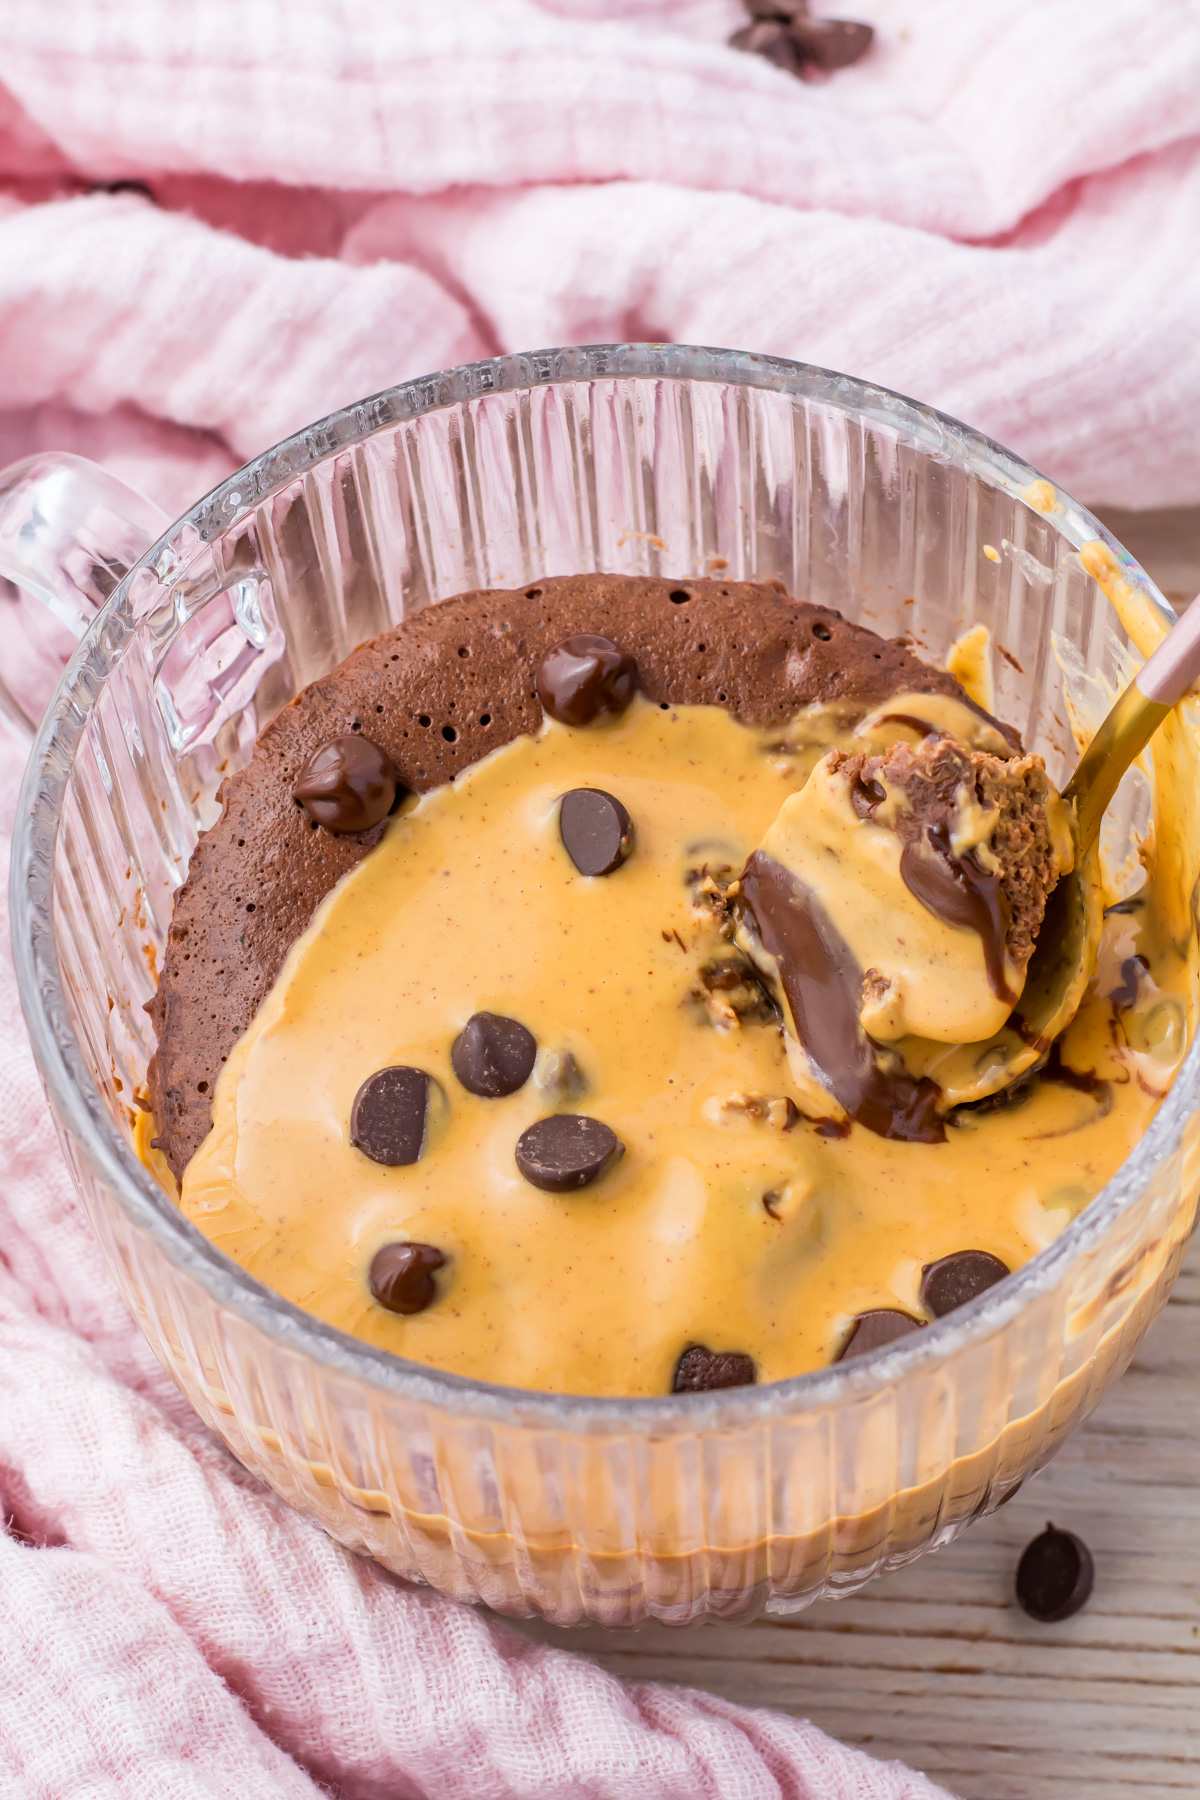
Ready in under a minute, this chocolate protein mug cake is rich, gooey, and hits that deep cocoa craving without derailing your day. It’s a high-protein dessert built for real life – when you want something sweet, but still care about carbs, macros, and keeping it gluten-free. No baking trays, no preheating, no cleanup. Just a microwave-safe mug, a scoop of chocolate protein powder, and a few simple ingredients standing between you and a warm, satisfying treat.
Protein: 38 grams per cake
The protein comes from whey powder, high-protein milk like Fairlife or Arla BOB, and an egg for structure and a little extra boost of protein. I’ve made this more times than I can count – usually late at night when I’m tired, craving chocolate, and not about to mess up my macros. It never lets me down!
Why you will love this recipe
- Quick fix: Ready in under a minute from start to finish.
- High protein: Over 20 grams of protein to keep you satisfied.
- Minimal effort: Just one mug, a fork, and a microwave.
- No weird stuff: Made with real ingredients you already have.
- Craving crusher: Rich, chocolatey flavor with zero guilt.
- Customizable: Add-ins like nut butter, chips, or a peanut drizzle? Always welcome.
Key ingredients and substitutions
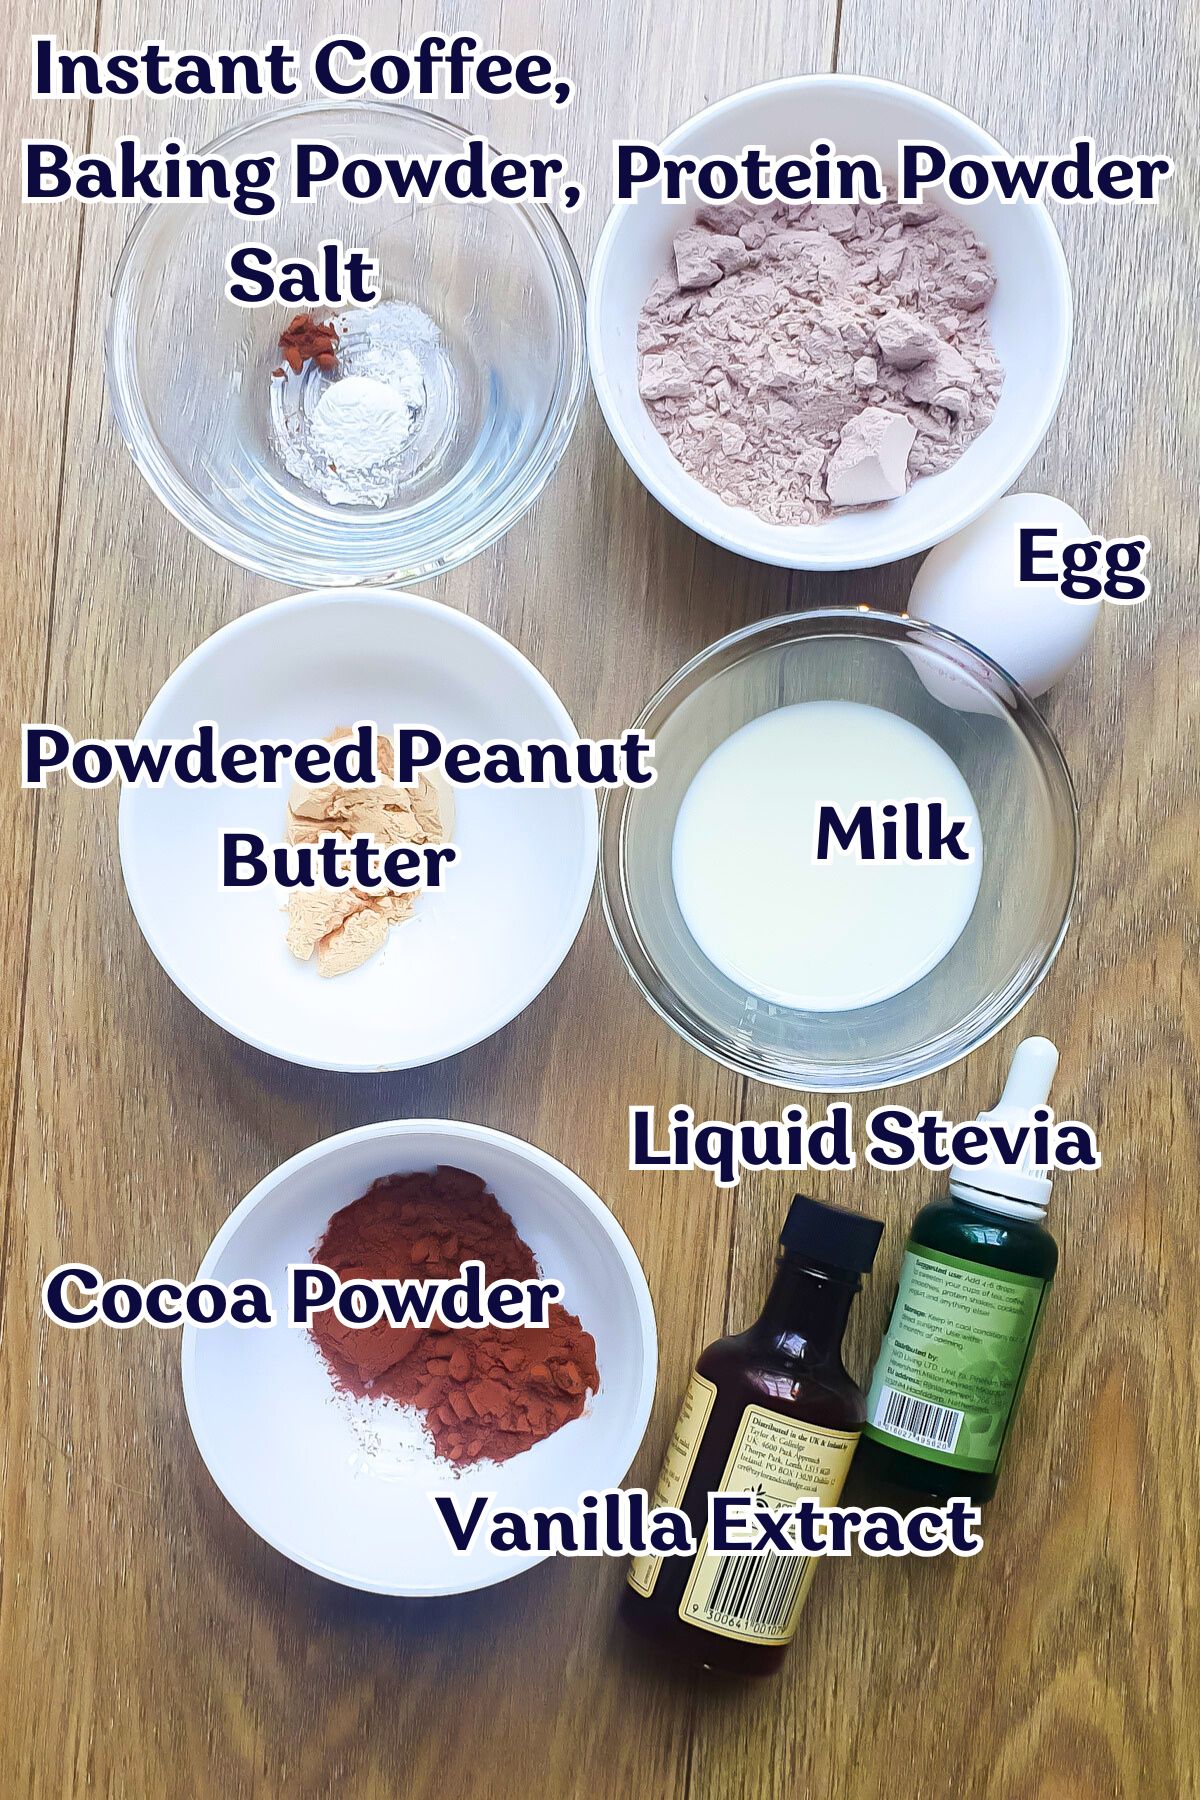
- Whey protein powder: Chocolate is best here, but vanilla, caramel, or even cookies and cream can work. Use plant-based or pea protein if needed, but adjust liquid slightly.
- Unsweetened cocoa powder: Adds deep chocolate flavor without added sugar.
- High-protein milk: I use filtered options like Fairlife or Arla BOB. Any non-dairy milk like oat, almond, or coconut works too.
- Egg: Adds structure and richness. Use a pasteurized egg, since the center stays a little gooey. If it cooks all the way through, the edges can turn tough and dry.
- Sweetener: Liquid stevia keeps it low-carb, but maple syrup, honey, or coconut sugar work if you prefer.
- Baking powder: Helps the cake rise and stay fluffy.
- Instant coffee (optional): A tiny pinch deepens the chocolate flavor – totally optional, but highly recommended.
- Salt (optional): Just a pinch brings out the flavor, especially if using unsweetened nut butters.
- Chocolate chips (optional): Stir in or sprinkle on top before microwaving for gooey pockets of melted chocolate.
- Powdered peanut butter (optional): Mix with water for a quick peanut drizzle that adds flavor and protein without too much fat.
How to make chocolate protein mug cake
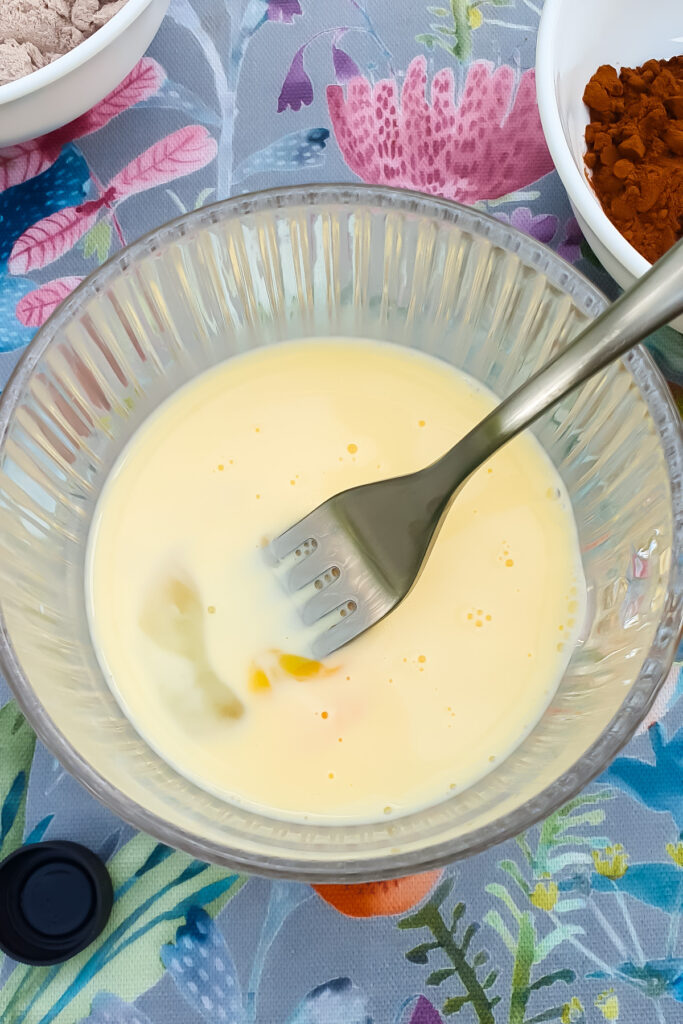
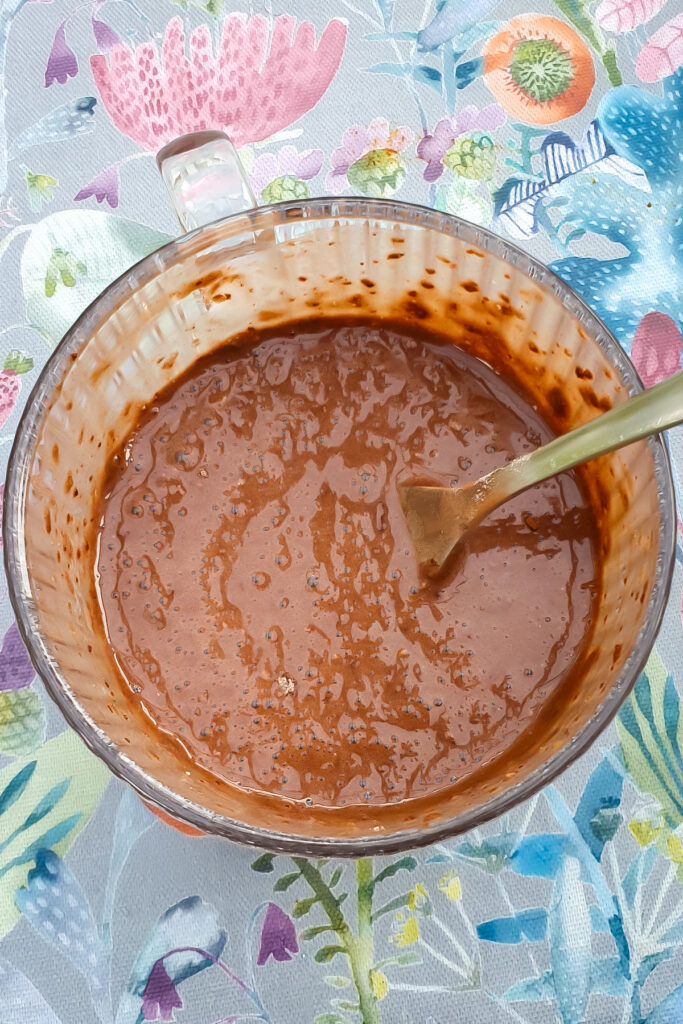
- Whisk the wet: In a microwave-safe mug, whisk together the egg, milk, sweetener, and vanilla with a fork until smooth.
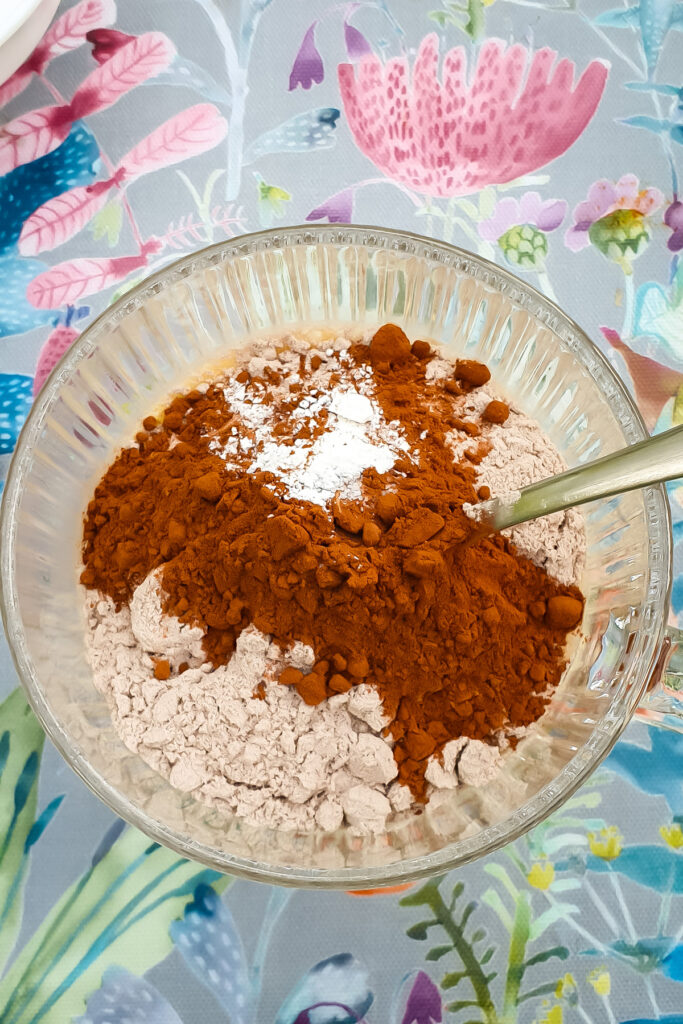
- Add the dry: Stir in cocoa powder, protein powder, baking powder, and a pinch each of coffee and salt if using. Mix until just combined – don’t overmix.
- Check the texture: The batter should be thick but pourable. If it’s too dry, add a splash more milk.
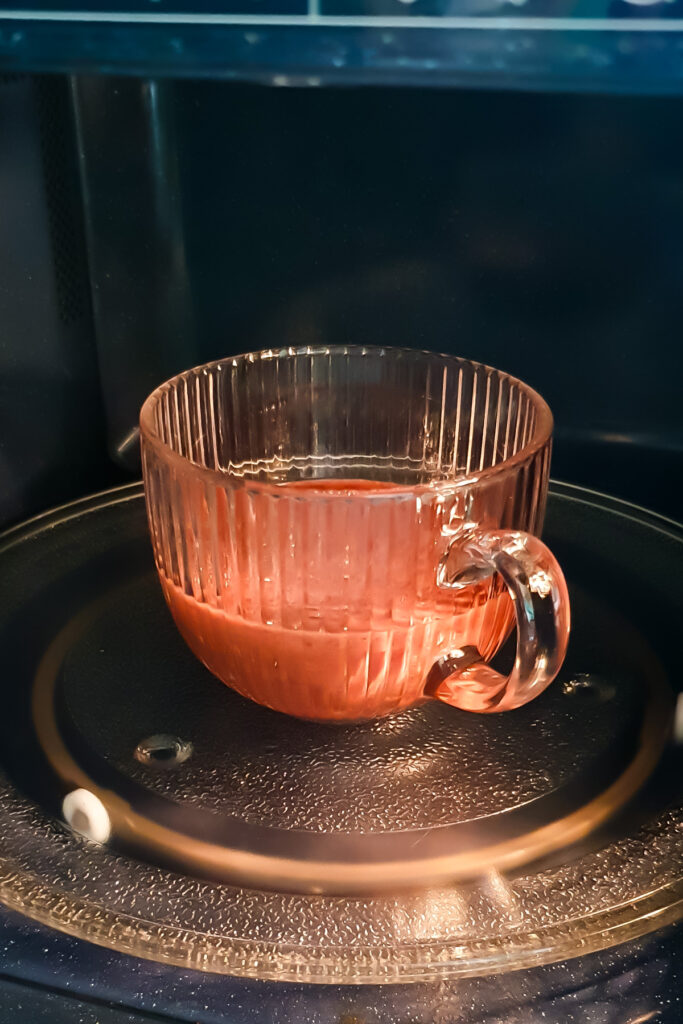
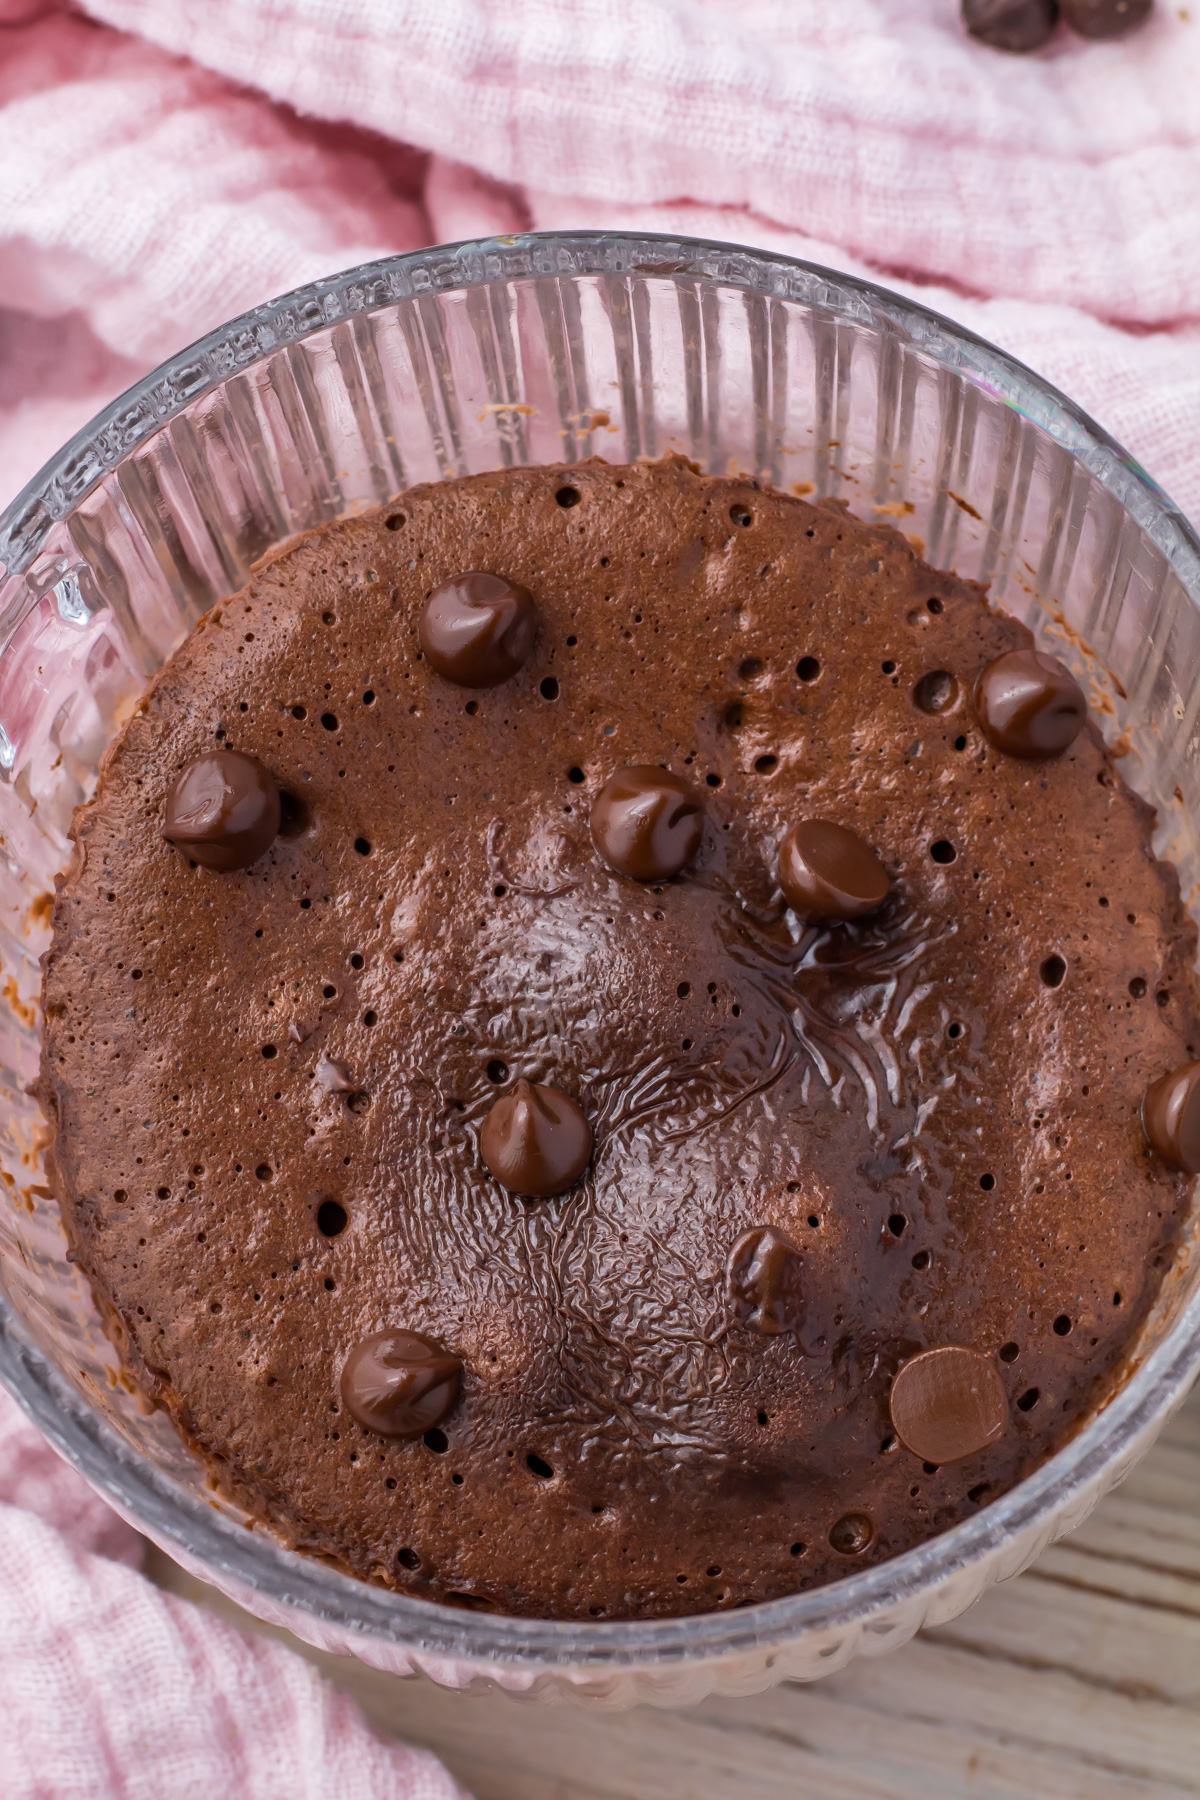
- Microwave in bursts: Microwave for 30 seconds, then check. Continue in 10-second intervals until the top looks just set. Usually done in 50-60 seconds. Don’t overcook: It’s okay if it looks a little gooey in the middle – it’ll keep cooking as it rests.
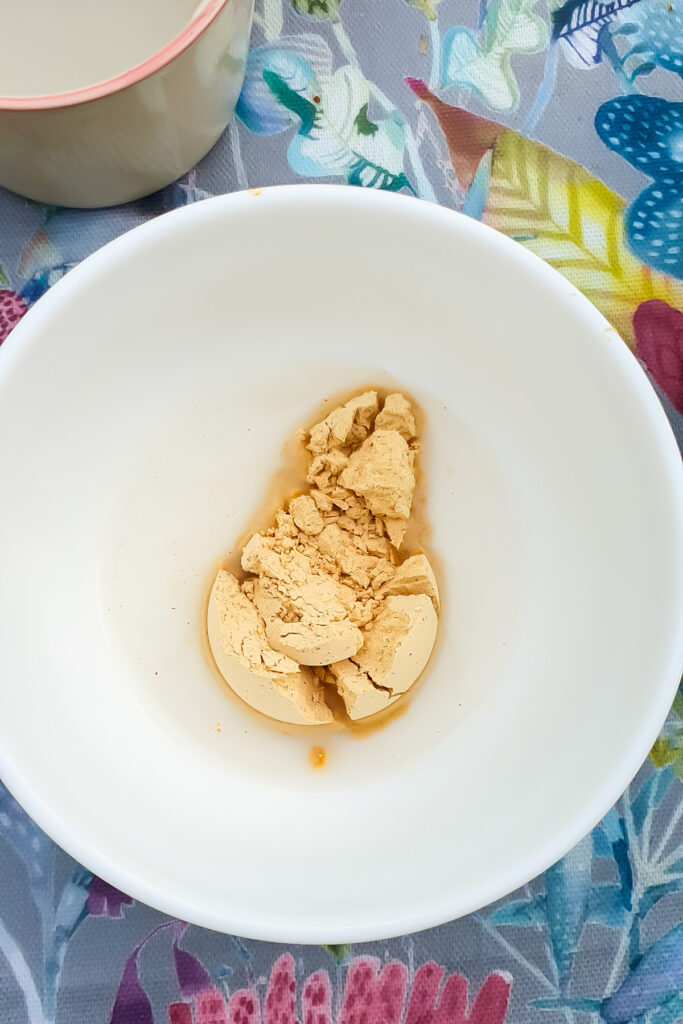
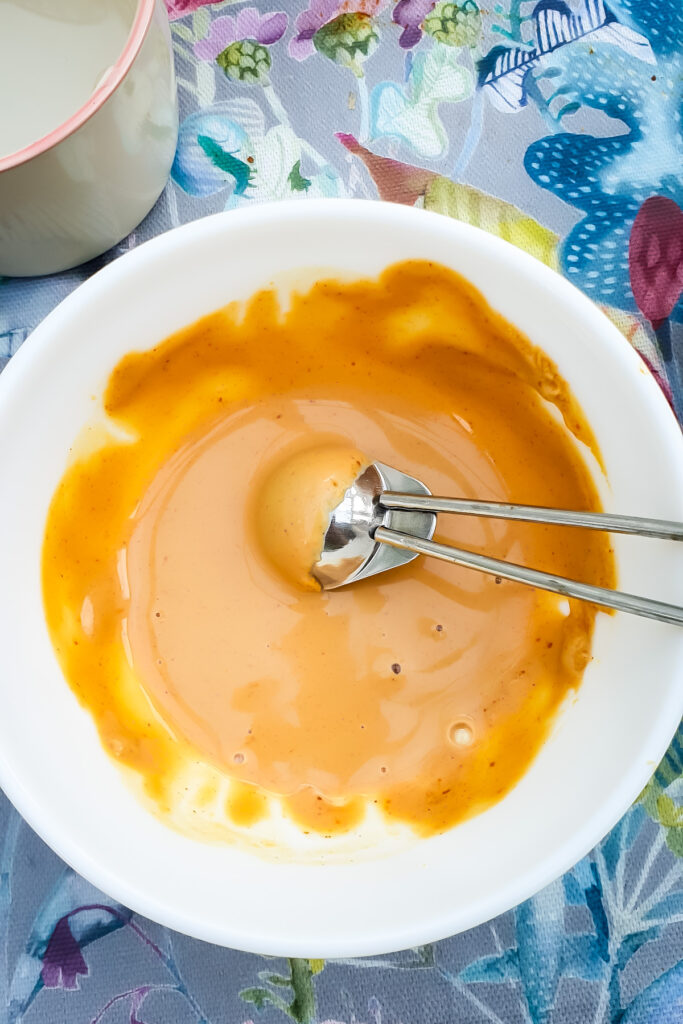
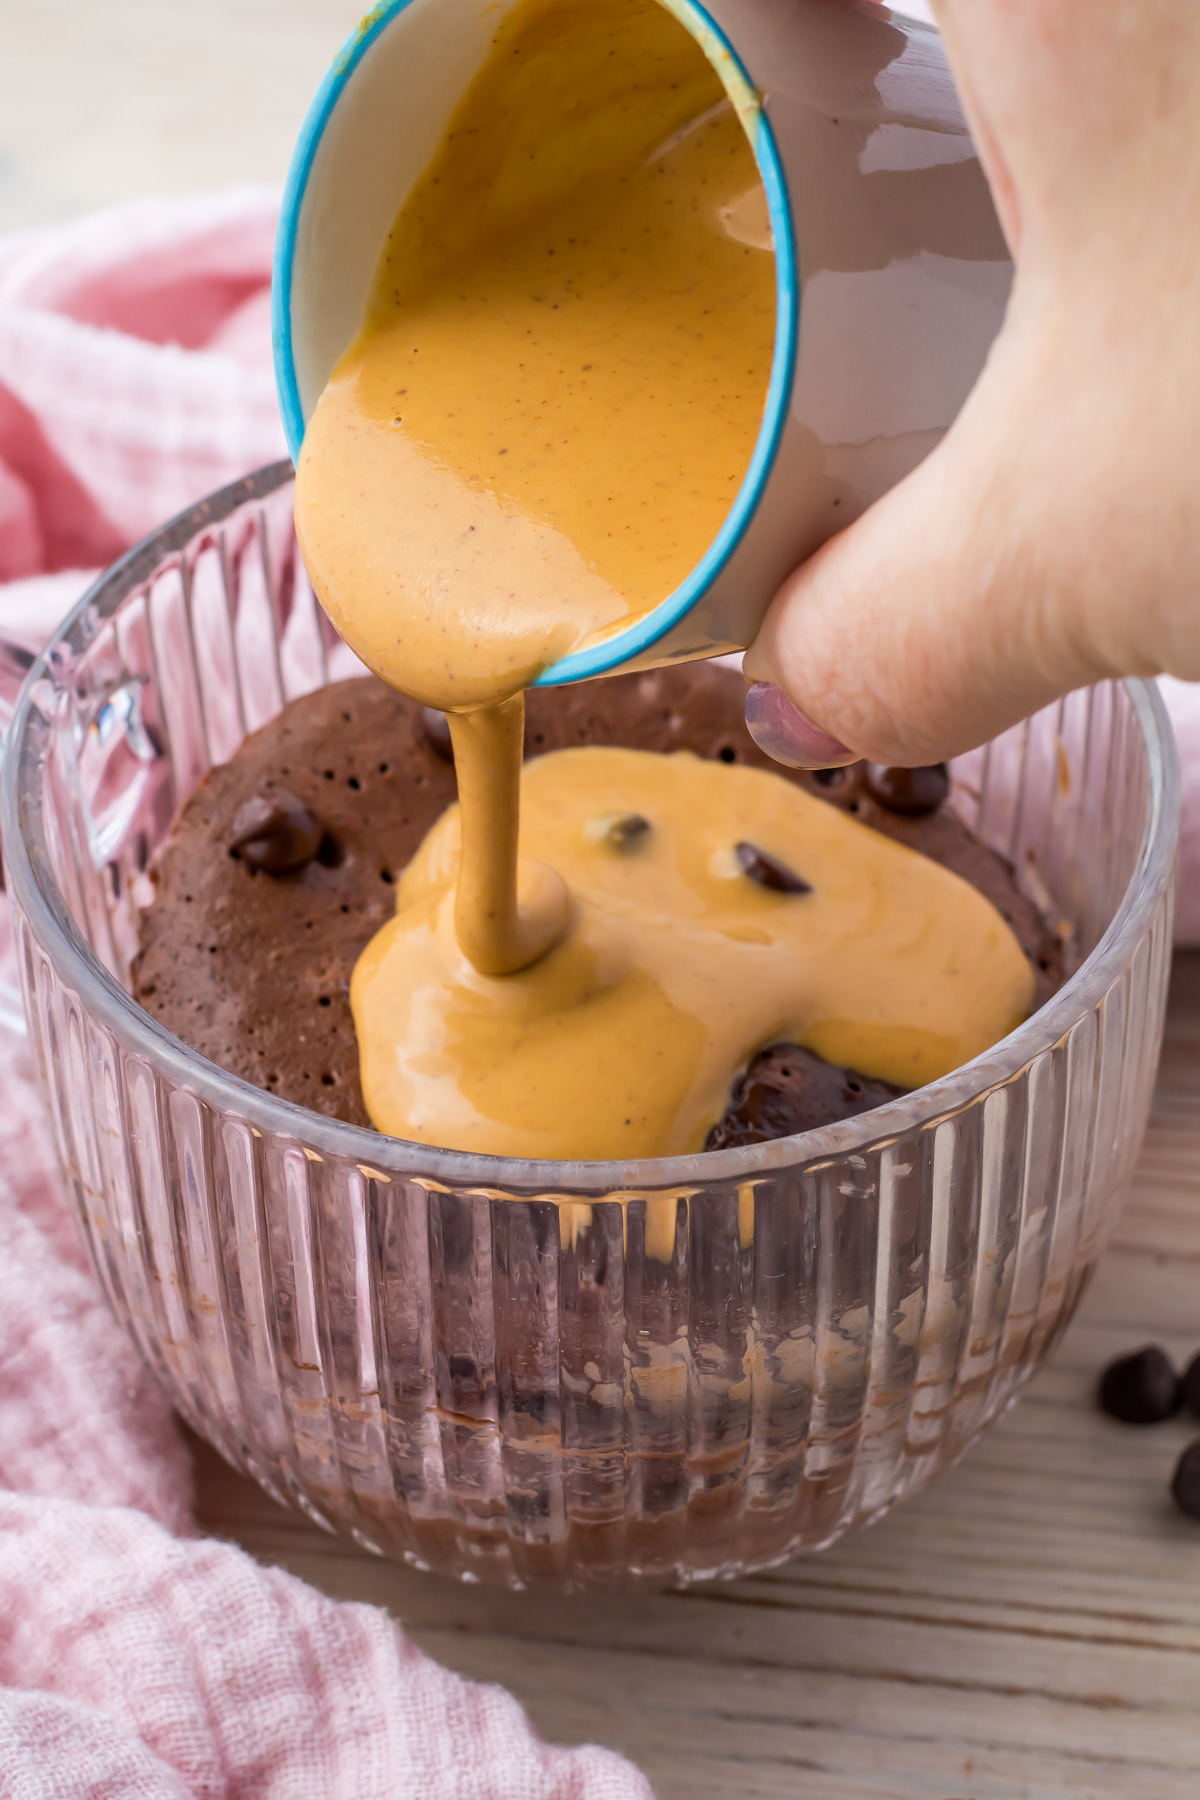
- Optional peanut drizzle: Mix powdered peanut butter with water until smooth. Add more water a teaspoon at a time if you want it thinner.
- Top it off: Drizzle peanut sauce over the cake, sprinkle with chocolate chips, and dig in with a spoon while it’s warm.
Recipe notes and tips
- Microwave wattage matters: Every microwave is different. Start low and check often to avoid overcooking.
- Use a big mug: Go for at least a 10-12 oz mug so the batter has room to rise without spilling over.
- Don’t overmix: Stir just until combined – overmixing can make the texture rubbery.
- Watch the time: It’s better slightly undercooked than overdone. Mug cakes firm up as they cool.
- Add toppings after cooking: Chocolate chips or peanut sauce melt best when added after microwaving.
- Let it rest: Give it a minute before digging in. It sets a little more and won’t burn your tongue.
Storage instructions
- Best fresh: This mug cake is meant to be eaten warm, straight from the mug.
- Fridge option: If you need to save it, cover and refrigerate for up to 1 day.
- Reheat gently: Microwave for 10-15 seconds to warm it back up – don’t overdo it or it’ll dry out.
- Not freezer-friendly: The texture doesn’t hold up well once frozen and thawed.
Variations
- Vegan version: Use a flax egg, vegan milk, and plant-based protein powder. Add a splash more dairy-free milk if the batter’s too thick.
- Double chocolate: Swap regular protein powder for chocolate flavor and stir in dark chocolate chips.
- Berry burst: Fold in a few fresh or frozen raspberries or blueberries before microwaving.
- Salted caramel: Drizzle with sugar-free caramel sauce and finish with a tiny pinch of flaky salt.
- Mint chocolate: Add 1-2 drops of peppermint extract to the batter for a fresh minty twist.
- Protein frosting: Mix a little protein powder with almond milk until spreadable, and top your cake like a cupcake glaze.
- Coconut dream: Use coconut milk and top with shredded coconut and dark chocolate chips.
- Banana blend: Mash in 2 tablespoons of ripe banana for extra moisture and natural sweetness.
What to serve with this recipe
- Toppings: Add a scoop of ice cream, a drizzle of nut butter, or a handful of dairy-free chocolate chips.
- Drinks: Pair it with a hot cup of coffee, iced protein shake, or a cozy mug of warm oat milk.
- Sides: Serve with sliced strawberries, a few almonds, or a dollop of Greek yogurt for a creamy, tangy contrast.
- Snacks: Make it part of a snack plate with protein bites, a square of dark chocolate, or a small smoothie.
Frequently asked questions
It was likely overmixed or overcooked. Stir gently and microwave in short bursts to avoid drying it out.
Yes, but use a larger bowl or ramekin to prevent overflow and increase the cooking time slightly.
No problem – just skip the drizzle or use regular nut butter thinned with a bit of warm water.
More protein-packed chocolatey recipes you will love
- Cottage Cheese Chocolate Mousse
- Healthy Banana Chocolate Chip Muffins
- Protein Chocolate Spread
- Cottage Cheese Brownies
- Chocolate Covered Protein Balls
- Snickers Frozen Cottage Cheese Bark
Have you made this recipe? I’d love to know <3 Tag me on Facebook and Instagram, Pin it on Pinterest, and please give it 5 stars with a review below! Don’t forget to subscribe to the email list (top right of this page) for sparkly new recipes in your inbox.

Chocolate Protein Mug Cake Recipe
Ingredients
- 1 large egg - pasteurized
- 1/4 cup filtered milk - e.g. fairlife, arla bob, or another protein milk
- 1/2 teaspoon liquid stevia - or sweetener of choice
- 1/4 teaspoon vanilla extract - optional
- 1.5 tablespoons unsweetened cocoa powder
- 1 scoop whey protein powder - chocolate flavor is ideal, vanilla, caramel, cookies and cream work too
- 1/4 teaspoon baking powder
- pinch instant coffee - optional
- pinch salt - optional
- chocolate chips - optional garnish
Peanut sauce (optional)
- 1 tablespoon powdered peanut butter - e.g. PB2, PBFit
- 1 tablespoon water - plus a little more, until preferred consistency
Instructions
- Add the egg, milk, liquid stevia (or other sweetener if liquid), and vanilla to a mug and whisk with a fork until the egg is incorporated.1 large egg, 1/4 cup filtered milk, 1/2 teaspoon liquid stevia, 1/4 teaspoon vanilla extract
- Add the dry ingredients and mix until just combined.1.5 tablespoons unsweetened cocoa powder, 1 scoop whey protein powder, 1/4 teaspoon baking powder, pinch instant coffee, pinch salt
- Microwave for 30 seconds and then check in 10 second intervals until the cake is just set. For me, this was around the 50 second mark. The cake will be a little gooey still.
Peanut sauce
- In a small bowl, mix the powdered peanut butter and water together.1 tablespoon powdered peanut butter, 1 tablespoon water
- Add a little more water, 1 teaspoon at a time until it reaches your desired consistency.
- Drizzle over the mug cake, add chocolate chips if desired, and enjoy!chocolate chips
Notes
- Microwave wattage matters: Every microwave is different. Start low and check often to avoid overcooking.
- Use a big mug: Go for at least a 10-12 oz mug so the batter has room to rise without spilling over.
- Don’t overmix: Stir just until combined – overmixing can make the texture rubbery.
- Watch the time: It’s better slightly undercooked than overdone. Mug cakes firm up as they cool.
- Add toppings after cooking: Chocolate chips or peanut sauce melt best when added after microwaving.
- Let it rest: Give it a minute before digging in. It sets a little more and won’t burn your tongue.
Storage instructions
- Best fresh: This mug cake is meant to be eaten warm, straight from the mug.
- Fridge option: If you need to save it, cover and refrigerate for up to 1 day.
- Reheat gently: Microwave for 10-15 seconds to warm it back up – don’t overdo it or it’ll dry out.
- Not freezer-friendly: The texture doesn’t hold up well once frozen and thawed.